Launch your first prospecting project
Define who you want to find, choose a search type, and launch your first prospecting project.
Reviewed 2026-08-25
A prospecting project is one search for a defined group of people. Launching a search finds and ranks people for you to review. It does not contact anyone.
1. Start a search
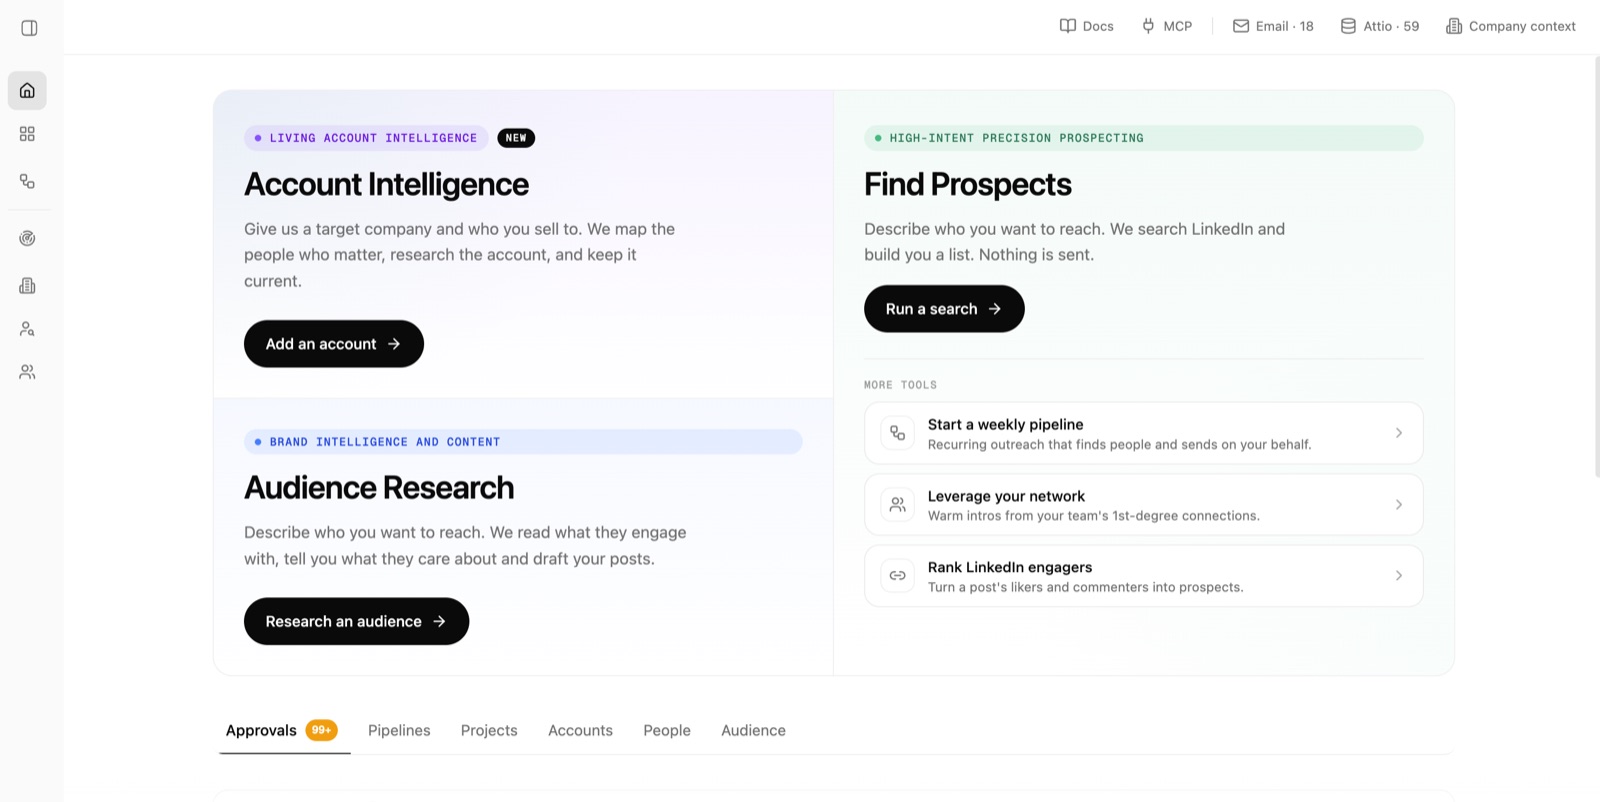
From Home, find Find Prospects and choose Run a search.
2. Choose a use case
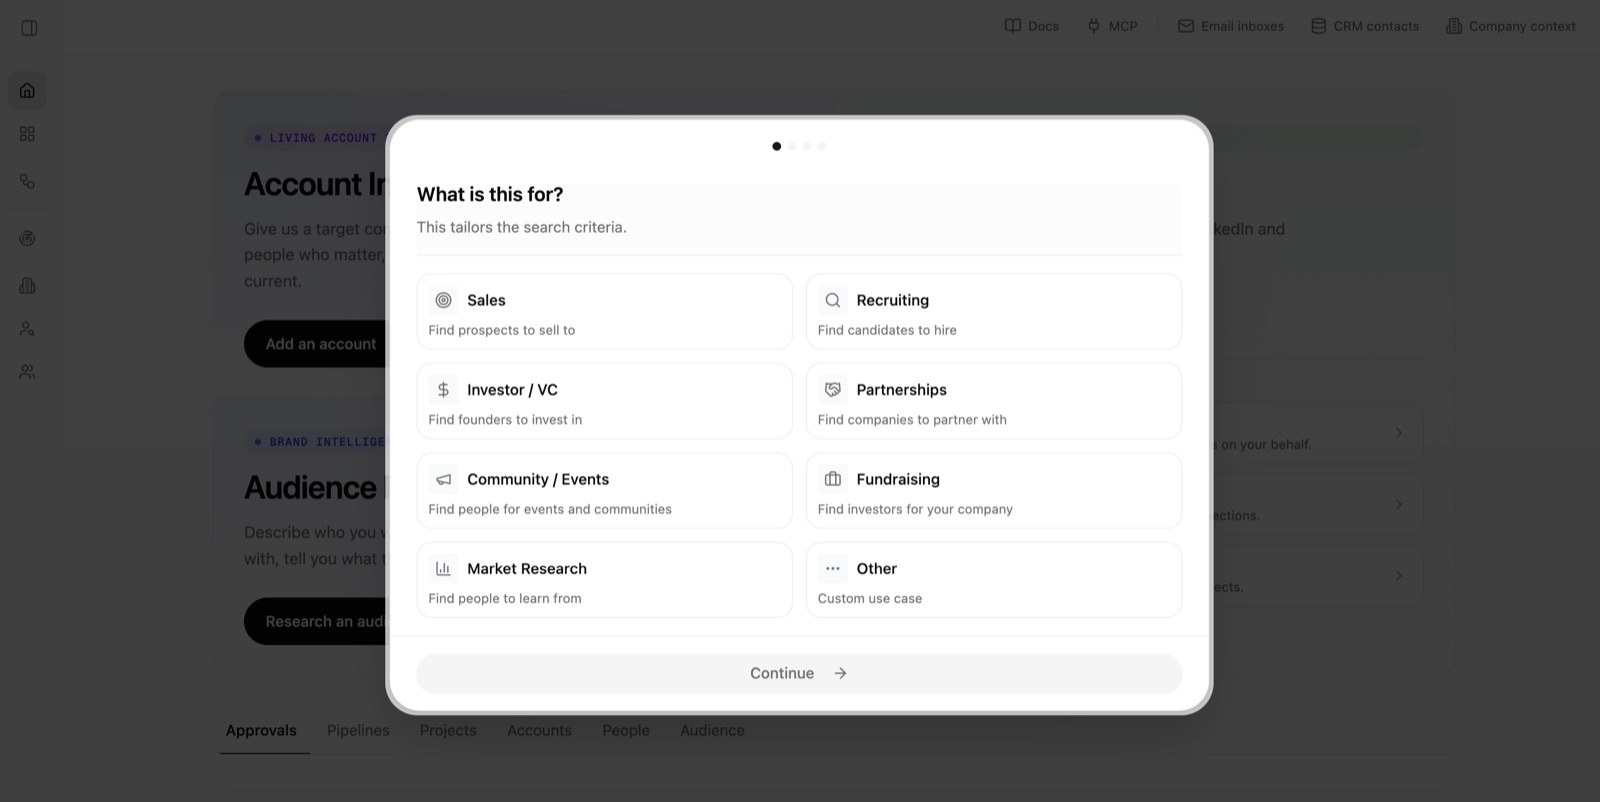
Choose what the search is for, such as Sales, Recruiting, or Partnerships, then choose Continue. This helps Lumnis tailor the search criteria.
3. Describe who you are looking for
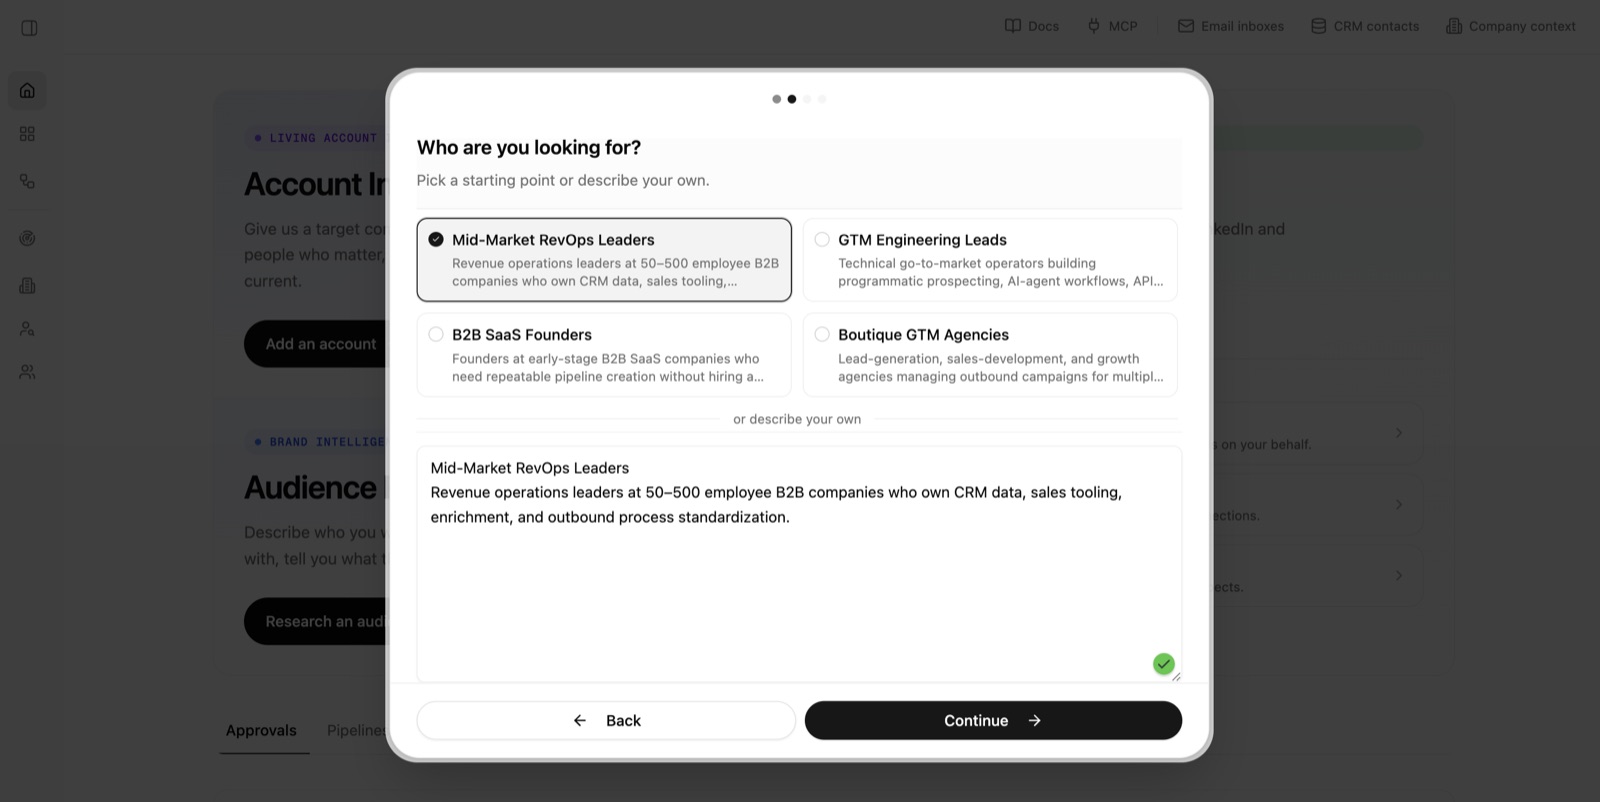
Choose one of the suggested audiences or type your own description. Be specific about the role, company, and reason the person matters. Then choose Continue.
4. Review and save the persona
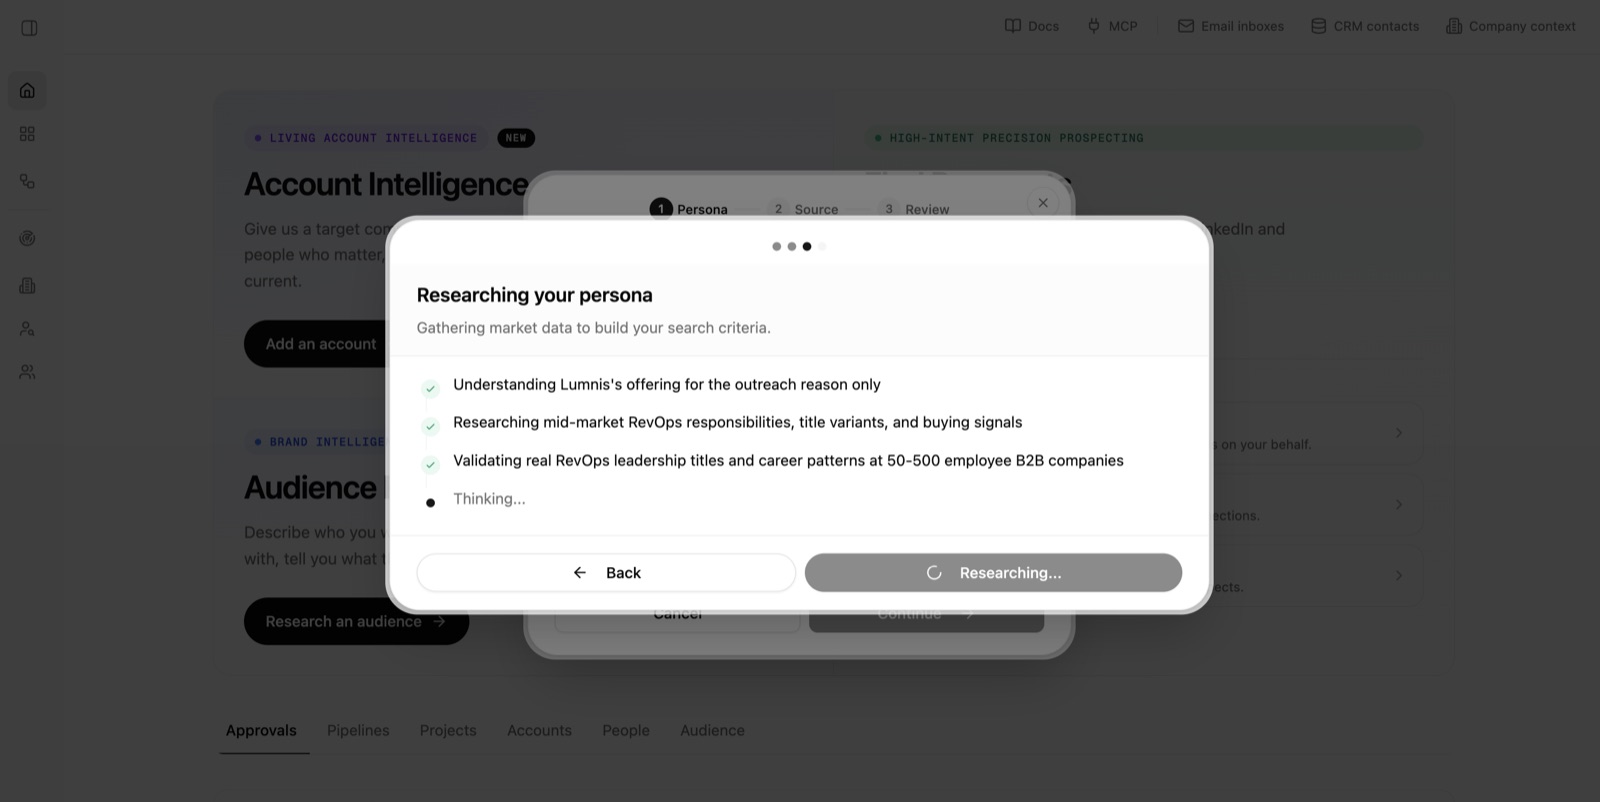
Lumnis researches the audience and prepares a Persona. A Persona is a saved description of the people and companies you want to find.
Review the audience, reason for reaching out, requirements, preferences, and exclusions. Edit anything that does not match your goal, then choose Save.
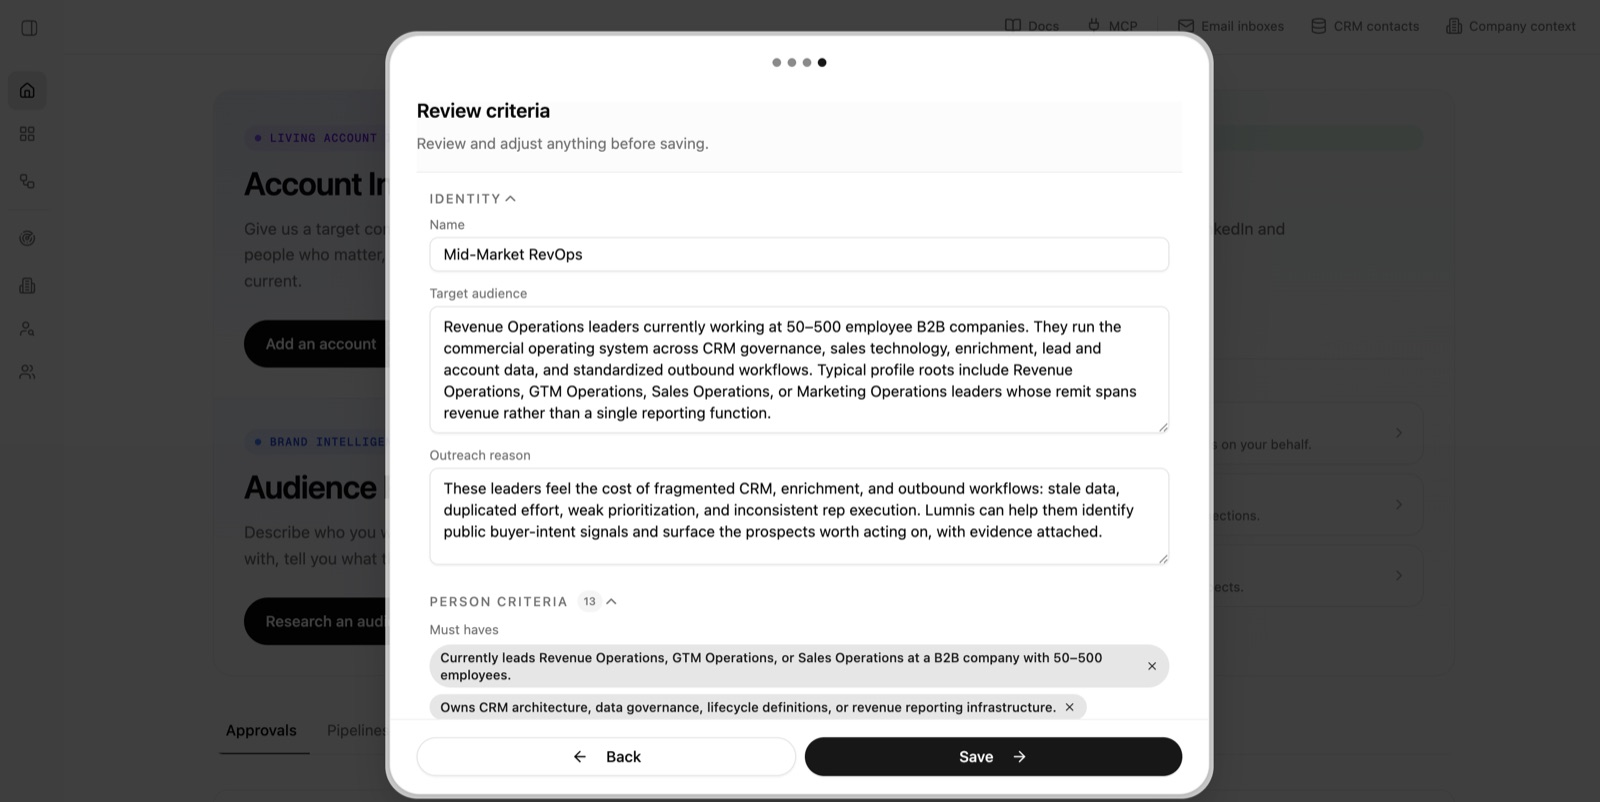
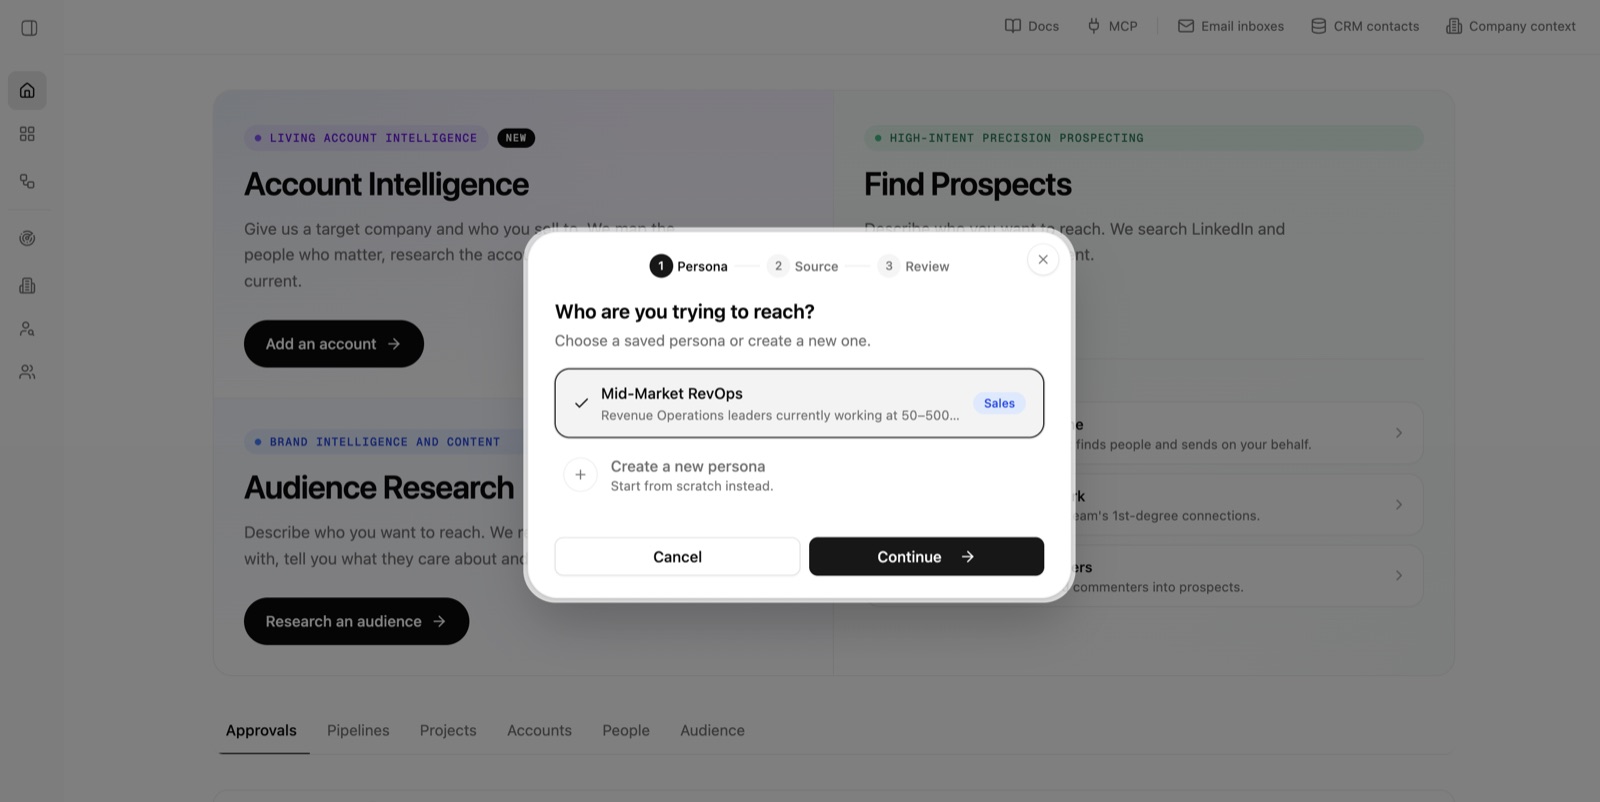
5. Continue with the saved persona
Confirm the Persona you just saved is selected, then choose Continue.
6. Choose a search type
Choose how Lumnis should find people. High Intent is a useful starting point when you want people posting or engaging with relevant topics now. Other search types use different evidence.
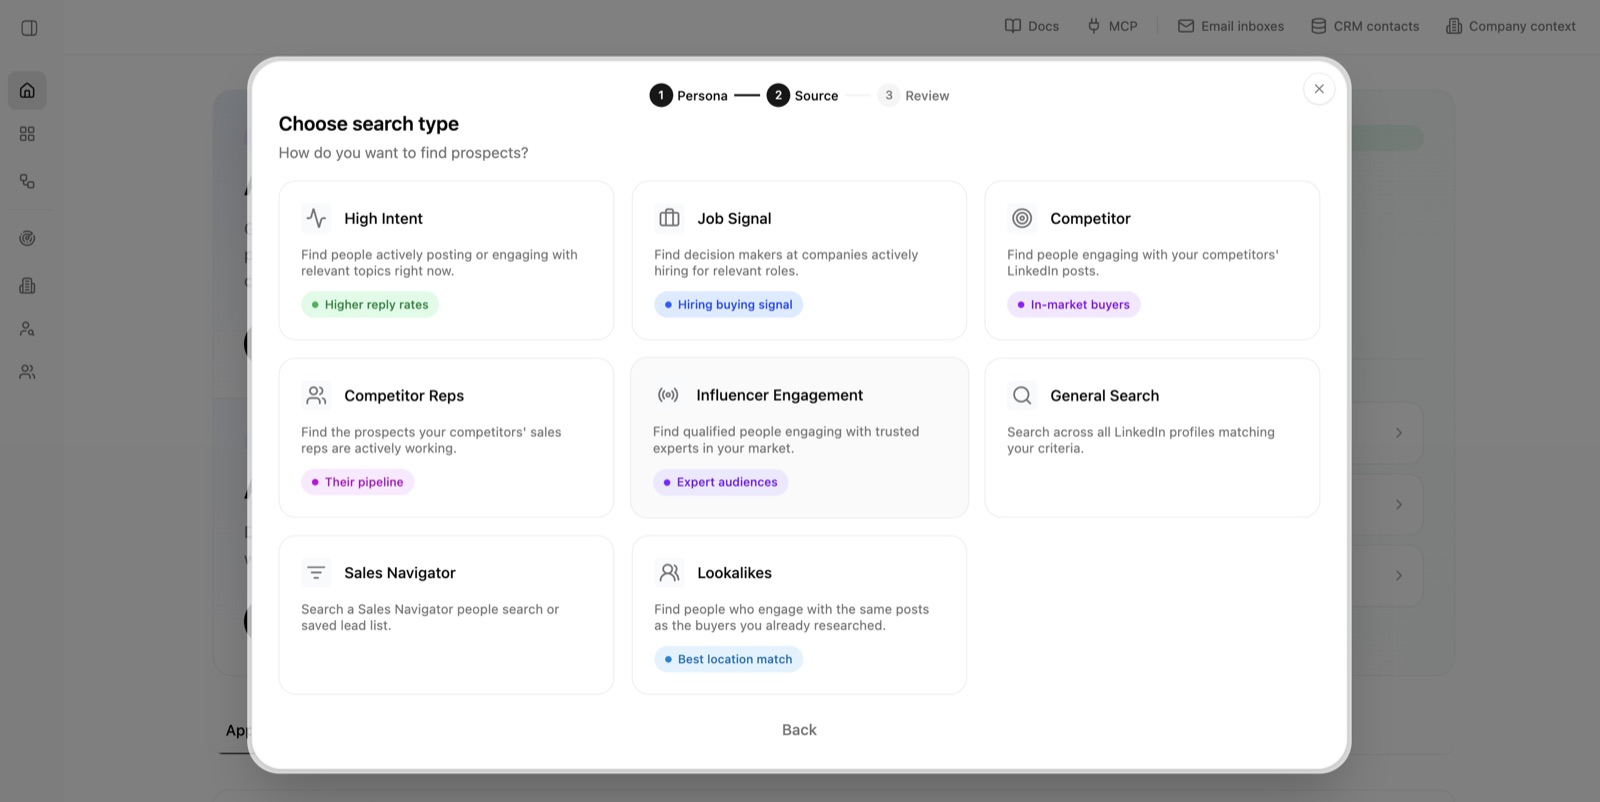
Read Search types if you want help choosing.
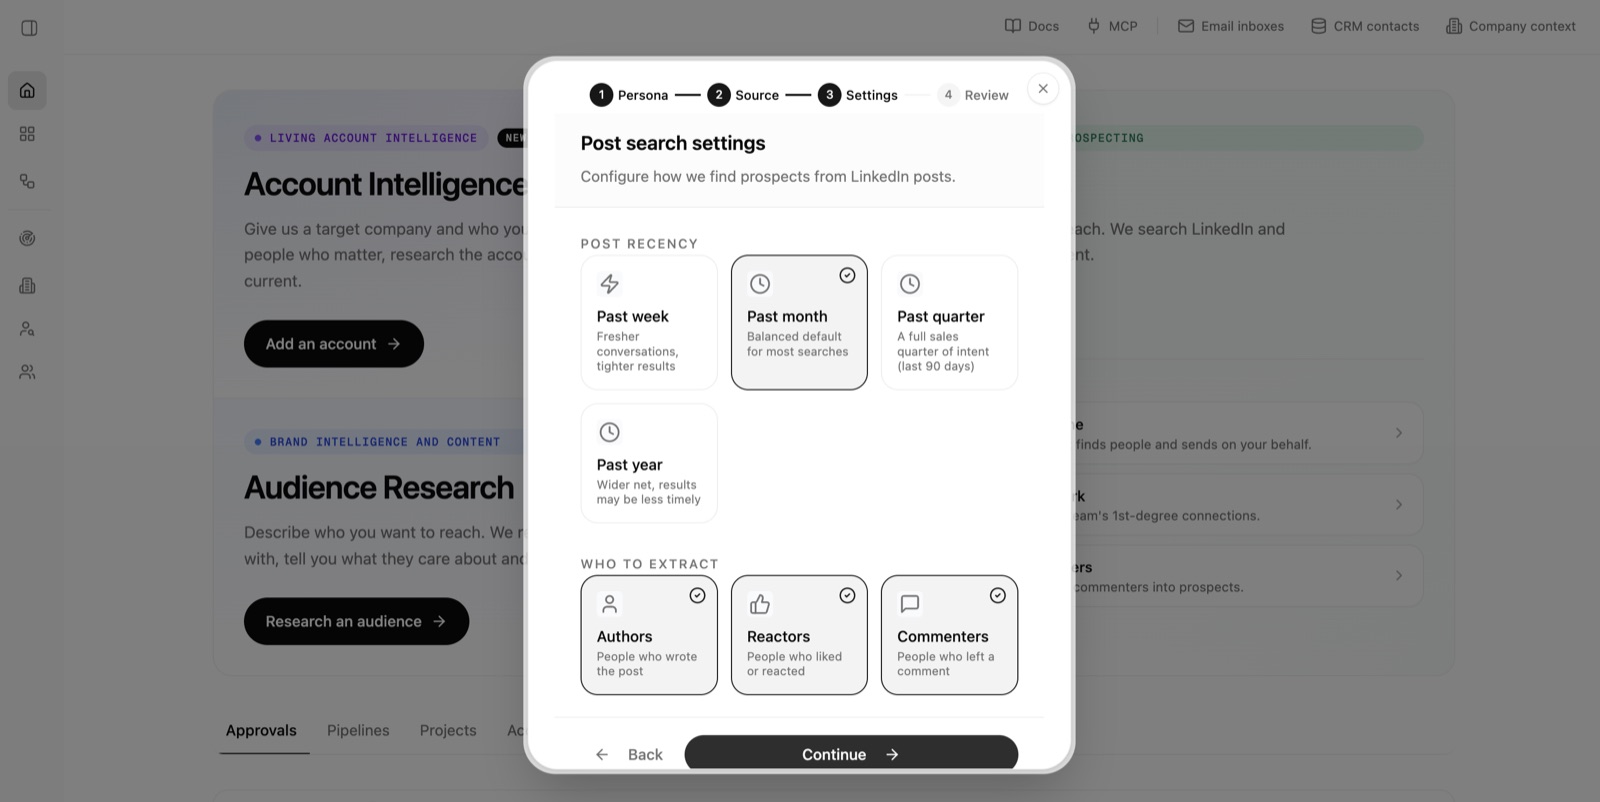
7. Configure the search
Set the options for the search type you selected. The choices can include the time range, where Lumnis should look, and which people to include. Then choose Continue.
8. Review and launch
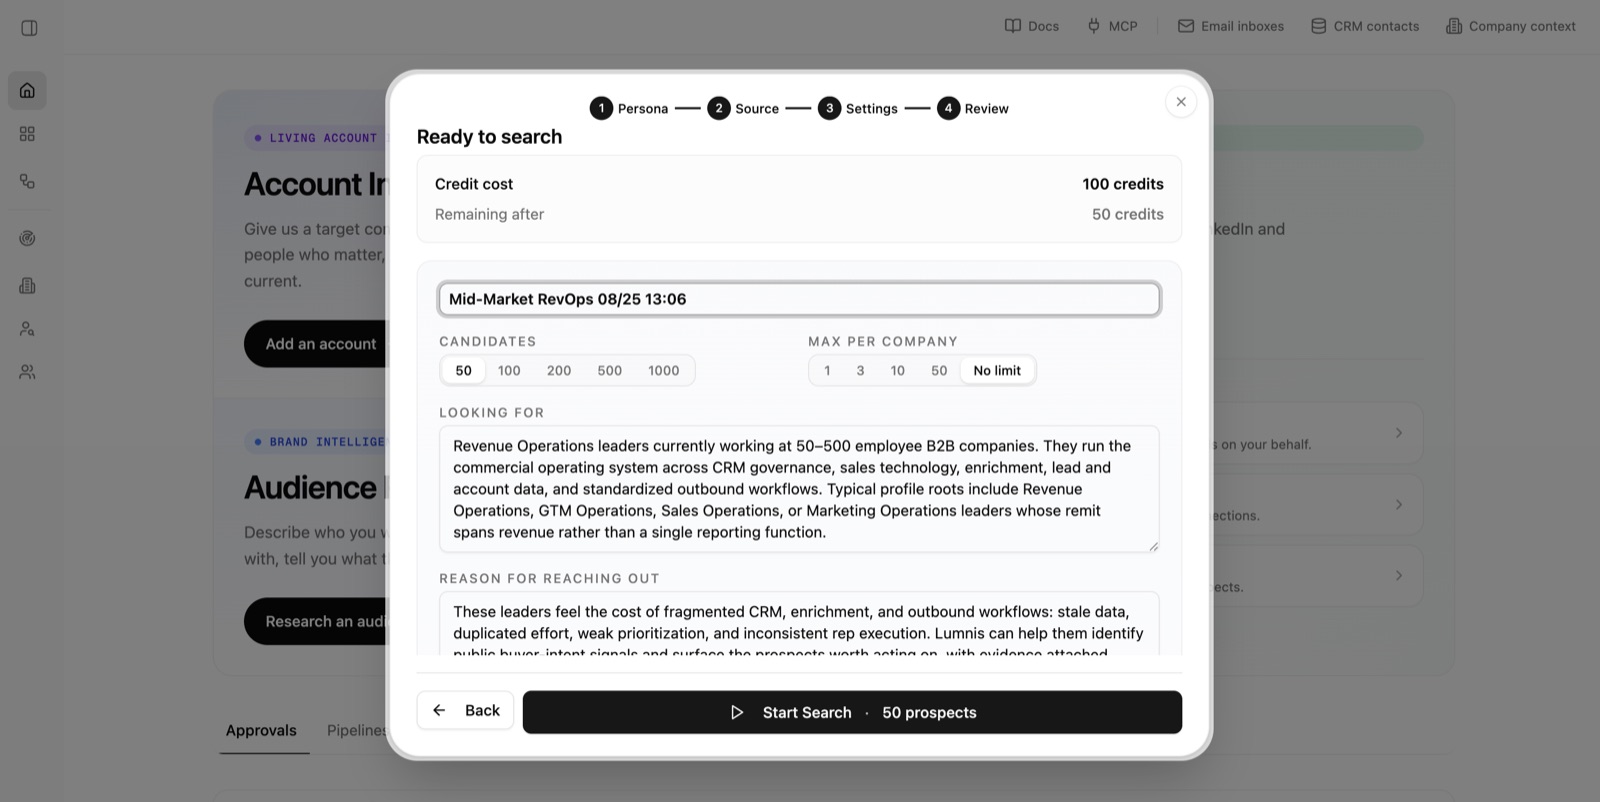
Check the project name, number of people, maximum per company, audience, and reason for the search. The credit cost appears before launch. When everything looks right, choose Start Search.
9. Wait for the results
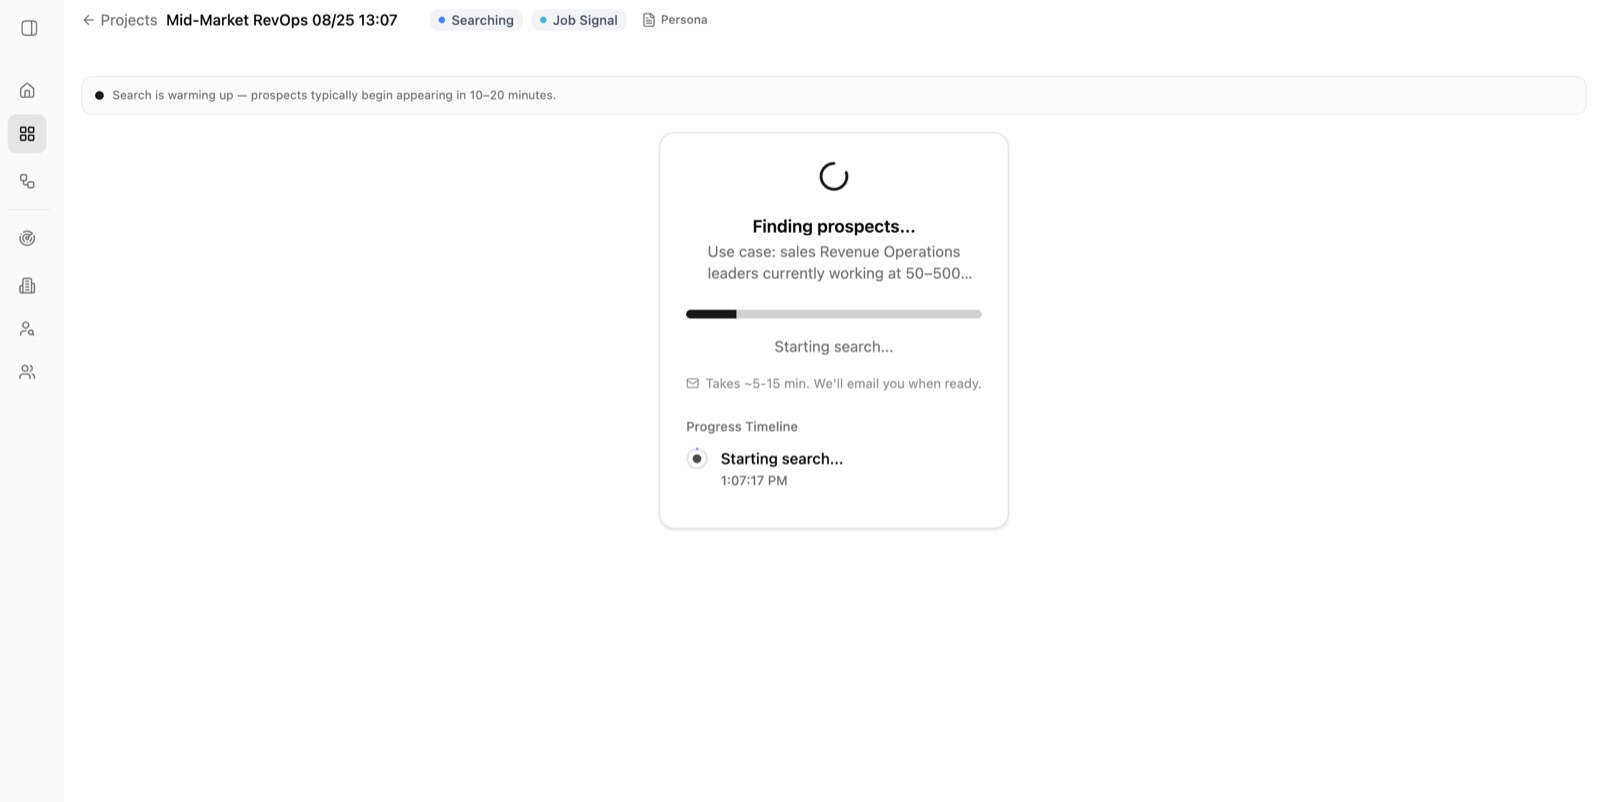
The search runs in the background. People often begin appearing within 10–20 minutes. Allow about 30–60 minutes for a larger search to finish. Lumnis emails you when the results are ready, so you can leave this page and return later from Projects.
10. Review the people
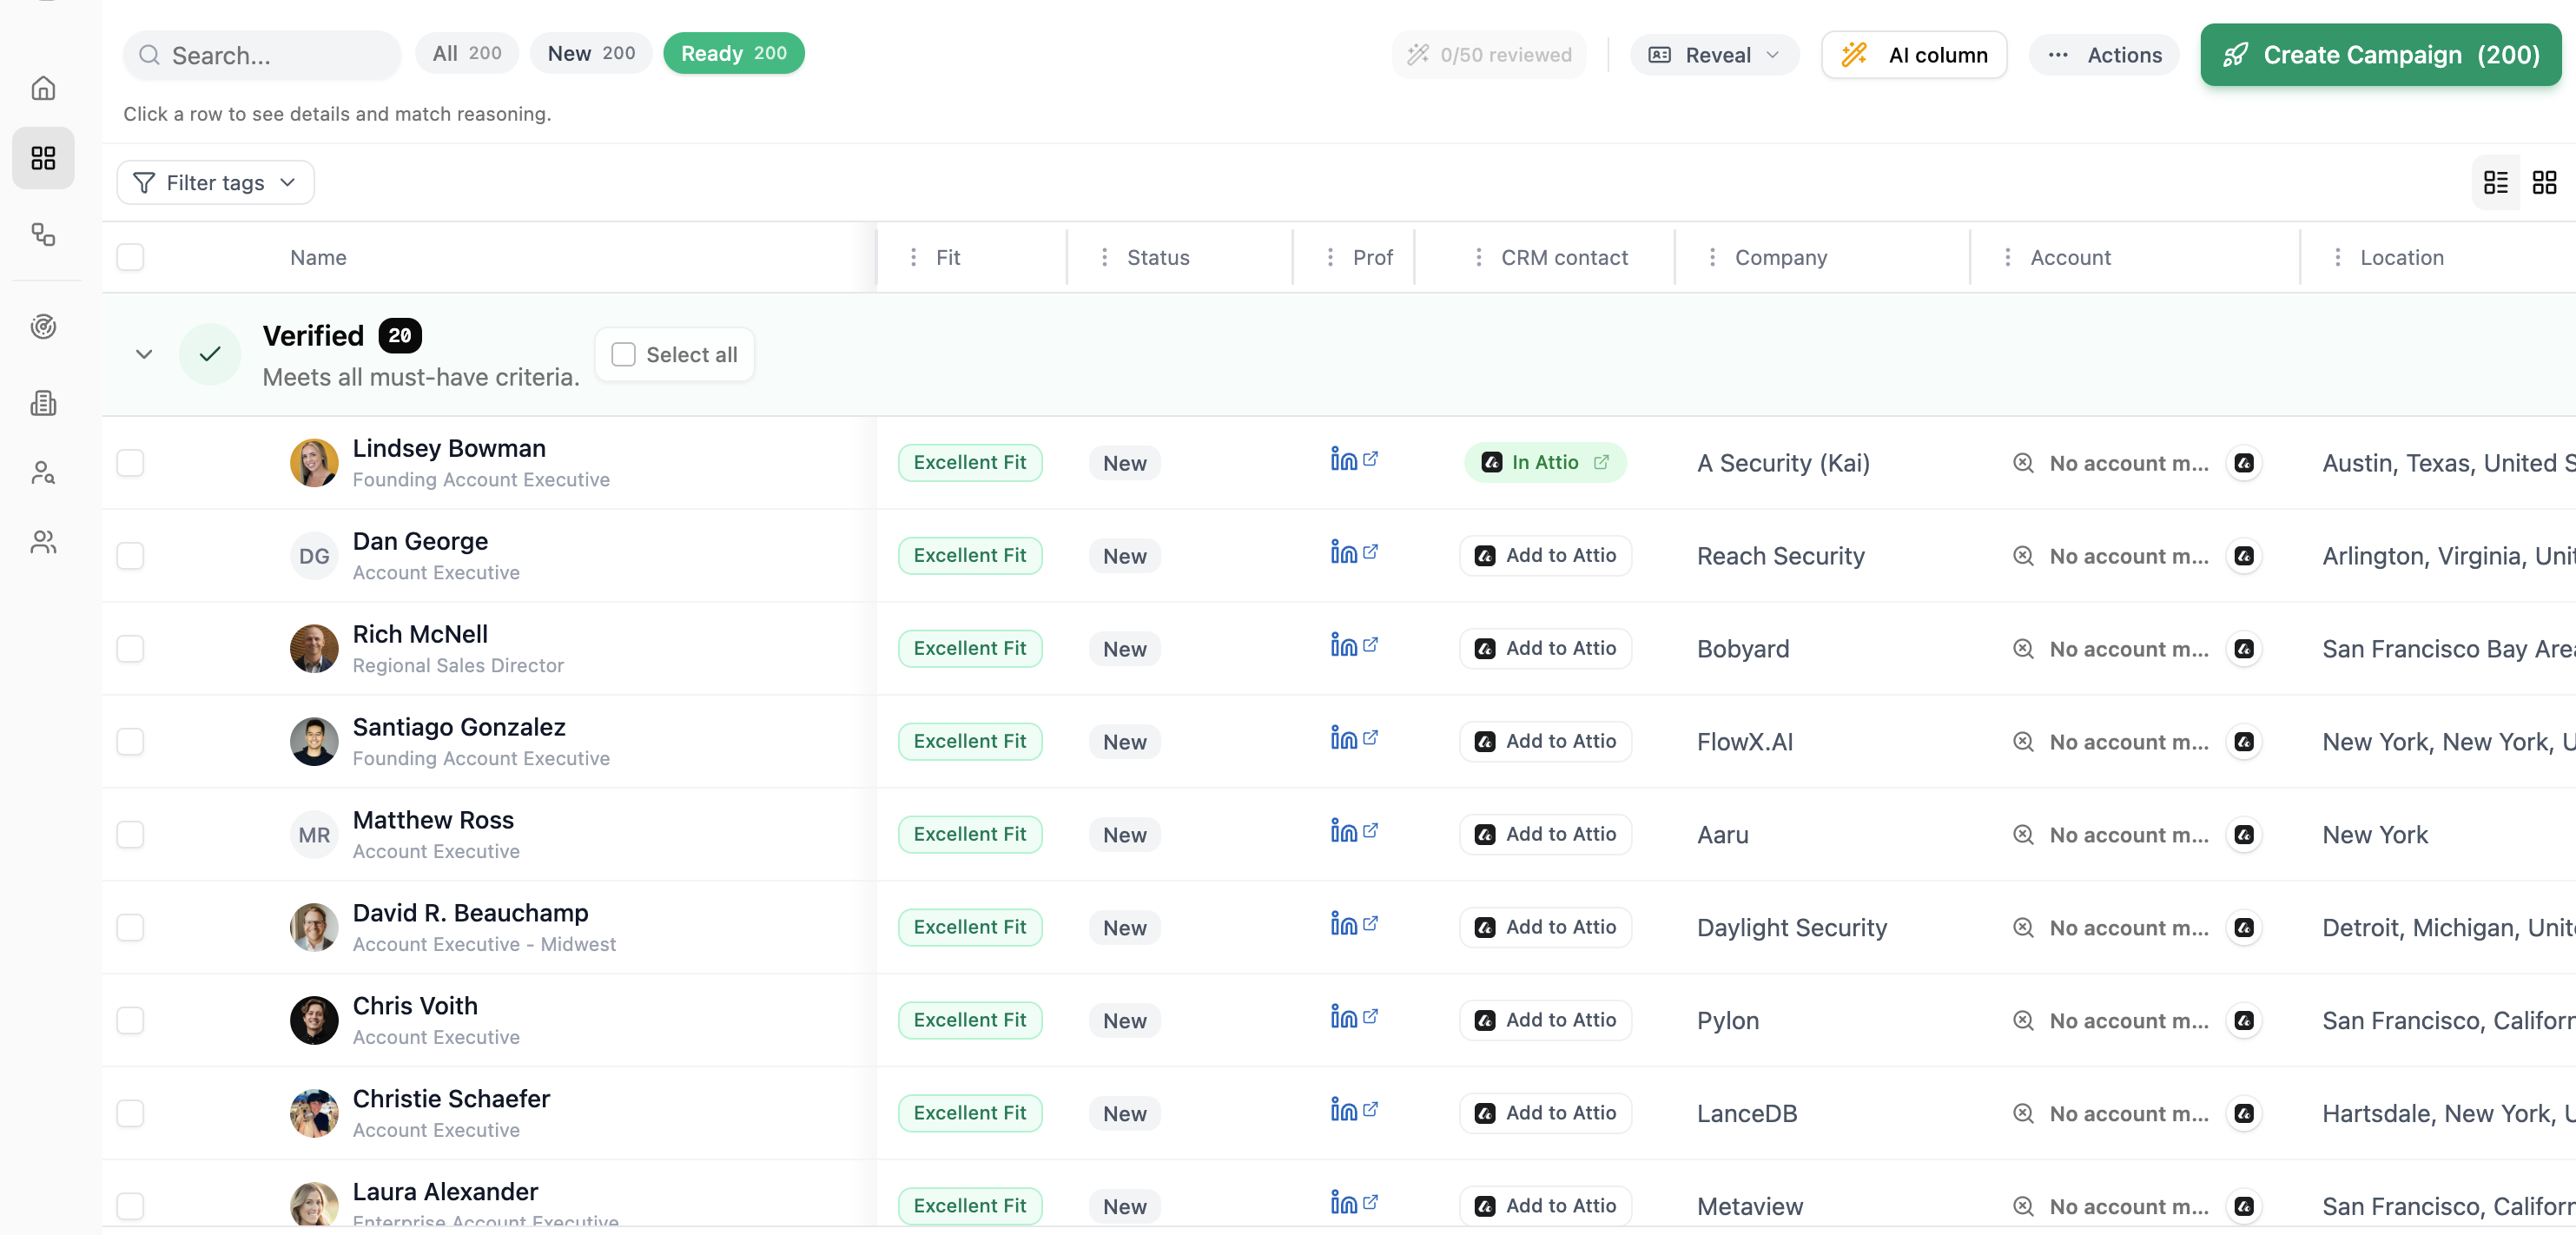
Open the completed Project to see the people Lumnis found. The table shows each person's fit, status, company, location, and available CRM context. Use the filters to narrow the list before reviewing it.
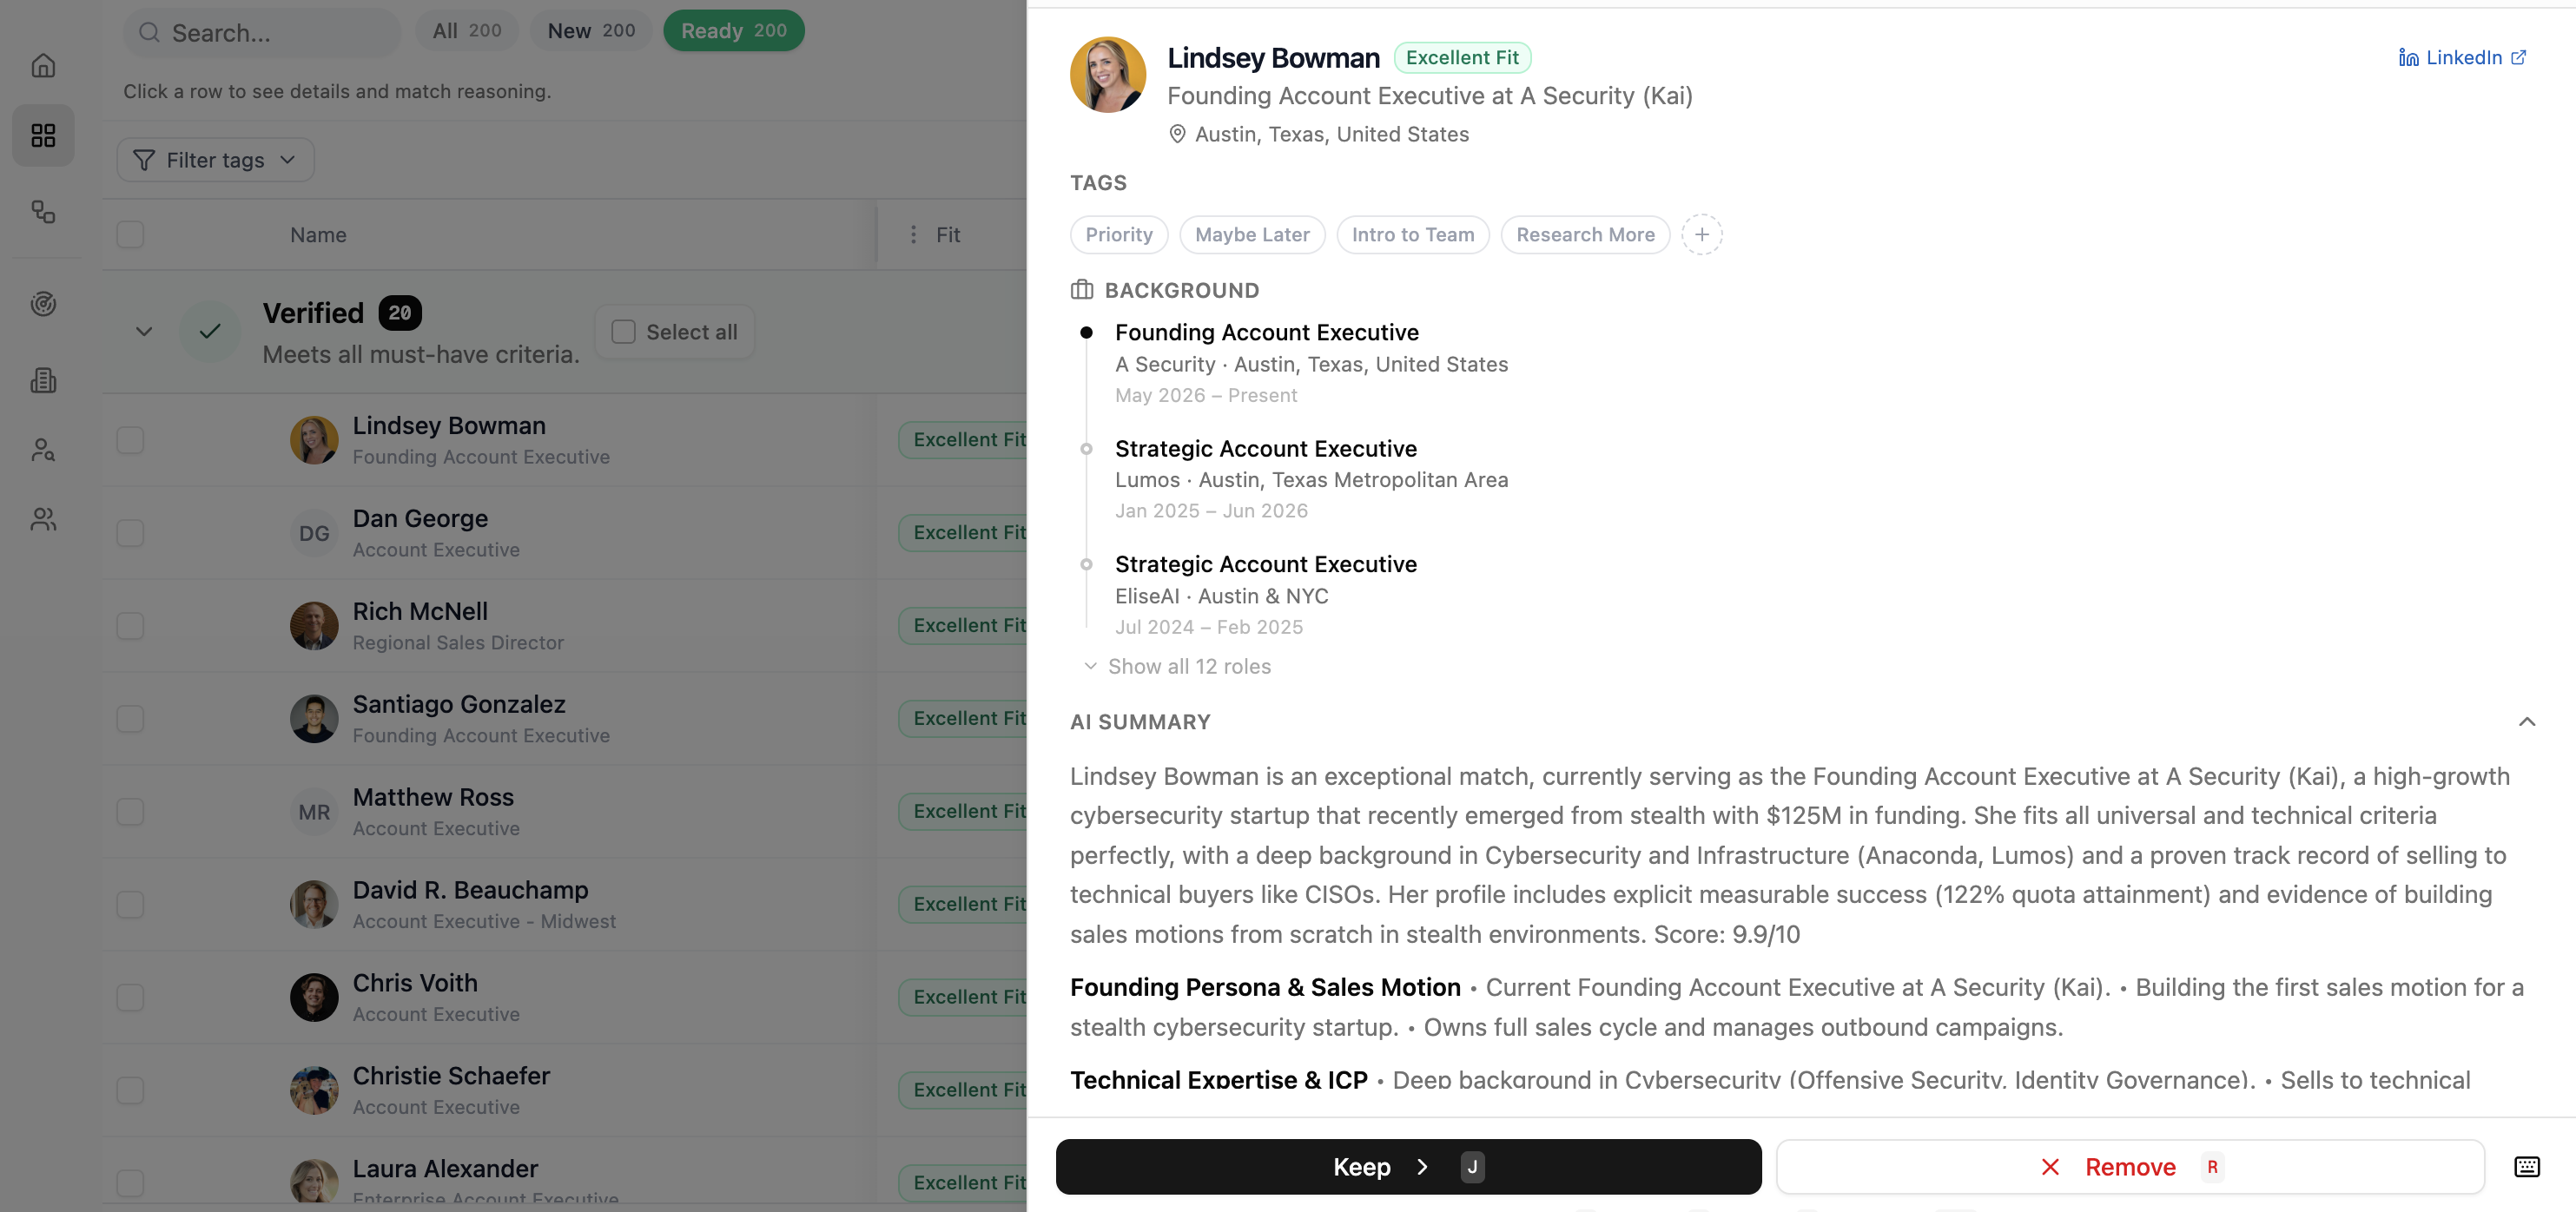
Choose a person's name or row to open their details. Review their background, summary, match reasoning, and source evidence before choosing Keep or Remove.
Check your CRM before outreach
If your workspace has Attio or HubSpot connected, the CRM contact column shows whether a person is already there. Choose Add to Attio or Add to HubSpot to create or link the contact. This does not start outreach.
The Account column checks the person's company separately. It can show an active deal, existing customer, marketing record, no active deal, or no account match. Open the person to review the matched account, deal, pipeline, and stage when available. Check this before starting a campaign so you do not contact an existing customer, interrupt an active deal, or duplicate work already owned by your team.
If the account match needs review or the CRM check is unavailable, open your CRM and confirm the company before acting. A missing result is not proof that no record exists.
What happens next
Nothing is sent unless you later launch a Campaign. Read Integrations if you need to connect Attio or HubSpot.